
Repeltec as a layer in a pest control programme
Where a repellent surface layer fits in an IPM programme: after inspection and proofing, alongside monitoring and baiting, never instead of them. What to treat, what to keep clear, and what goes on the service report.
Draft wording, pending regulatory approval.
01
Where it applies
Repeltec is a repellent (product type 19 under the Biocidal Products Regulation), not an insecticide (product type 18). In an IPM programme it sits in the prevention and protection part of the cycle: after the survey has found the harbourage and the routes, after proofing and hygiene have been raised with the client, and once any active population has been brought down with the methods you already use.
Its job is the treated surface between visits. It does not replace inspection, monitoring, proofing, sanitation, baiting or knock-down, and it is not a first response to an active infestation.
Where it goes: the routes between harbourage and the space you are protecting. Cracks and crevices, skirting and floor-wall junctions, pipe runs and service penetrations, the backs and undersides of fixed equipment, door and window frames, thresholds and other entry points, in the settings the label covers.
Where it does not go: bait stations, gel bait placements and the surfaces they sit on; monitoring devices, interceptors, pheromone traps and insect light traps; food and food contact surfaces; live electrical components; drains. A repellent on the substrate around a bait point can reduce bait uptake, and around a monitor it can lower the catch and hide a trend.
02
Preparation
Inspect and identify first. Confirm the species, where it harbours and how it moves, and decide against the site's threshold whether action is needed at all. A surface layer applied to the wrong edges is product on a wall.
Raise the proofing and hygiene points in writing before you treat: gaps around pipes, damaged seals, door brushes, food debris, clutter. Repeltec on an unproofed entry point is working against the building.
Map where the treated zones will be in relation to the bait and monitoring plan, and keep a clear margin around every bait point and monitor. Agree the zones with the client's responsible person.
Clean the surfaces and let them dry; the coating bonds to the surface, not to dust or grease. Do not apply over a wet residual treatment: let earlier applications dry and follow their labels on sequence. Spot test any surface outside the tested list. Wear the protective equipment the safety data sheet specifies and ventilate.
03
Application
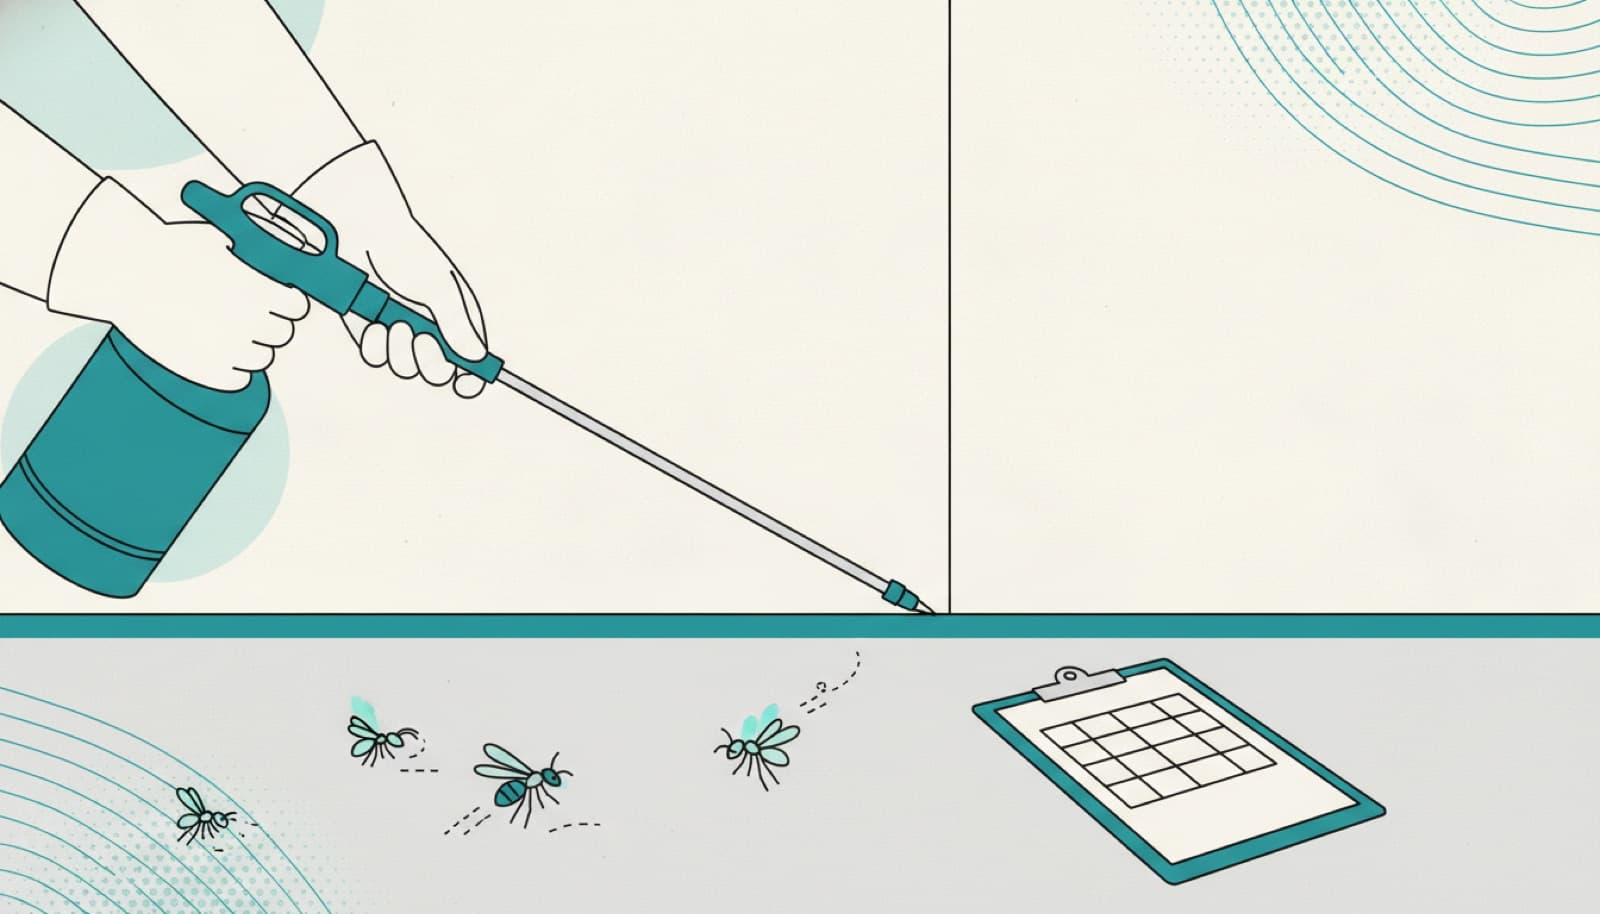
Compression sprayer for most sites, with the settings in the equipment and application article in this library; a microfibre cloth for frames, hinges and brackets. A thin, even layer along the mapped route, with passes overlapping slightly so there is no gap.
Work cracks and crevices deliberately: the water-based liquid runs into the gap, which is where the treatment does its work. Stop short of bait points and monitors. Do not saturate; pooling on a client's floor is a callback.
Surfaces on the tested list: ceramic tiles, glass, plexiglass, galvanised iron, laminate, unpainted cement, plywood, carpet, cotton, cotton blends and polyester. Anything else (stainless steel, painted plaster, vinyl, resin floors, sealed timber) is spot tested and noted on the report as outside the tested list.
Bed bugs: in an active case, treat the source room with your own method first. Repeltec belongs on the shared routes of the rooms around it (door frames, skirting on shared walls, conduit and pipe penetrations) and in rooms with no current activity, with interceptors and inspections continuing.
04
Drying and re-entry
The area is released when treated surfaces are dry, per the label. Give the client a written re-entry time rather than a verbal one, and put it on the service report. Ventilate while it dries.
05
Reapplication
Reapply at the interval on the label. Sooner where the client wet cleans treated edges, on heavily used thresholds, and after any deep clean or refurbishment.
Let the monitoring data set the rhythm. On a routine contract, review the treated zones at each visit: re-treat where the record or a worn surface says so, extend the zone where monitors show new activity nearby, and drop zones where the risk has gone. Reapplication follows the programme; it is not a fixed spray round.
06
Records to keep
On the service report: date and time; site, area and the treated zones by name or plan reference; target pest and the reason (preventive, or follow-up to a finding with the monitor or record reference); surfaces treated and the approximate running metres or area; product, batch number and quantity used; equipment; applicator name; the re-entry time given and to whom; bait points and monitors close to the treated zones; proofing and hygiene recommendations with who owns them; the next review date.
File it in the site pest control file next to the monitoring results and the site plan, so an auditor finds it where they already look. Mark the treated zones on the site plan as well as the bait and monitoring points. Safety data sheet and label with the van stock and in the site file.
Do not say
What not to claim to the end customer
Do not tell the client the product kills insects, clears an infestation or keeps a site pest free. It does none of these, and a technician who says otherwise creates the complaint that comes back to you.
Do not present it as a stand-alone solution, and do not use it to justify fewer visits, fewer monitors or less proofing than the risk assessment calls for.
Do not describe it as non-toxic or harmless, and make no claim about resistance, disease or public health without regulatory approval.
Say what it is: a repellent surface treatment applied to the routes after inspection and proofing, alongside monitoring and baiting, recorded on every service report.
Use biocides safely. Always read the label and product information before use.